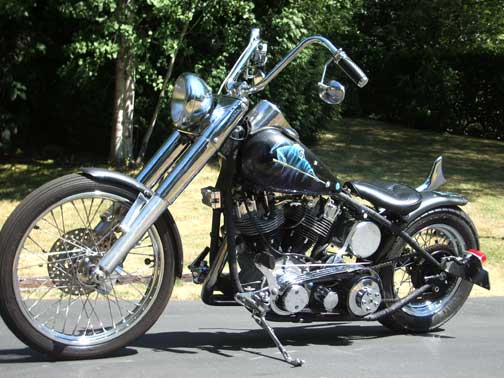
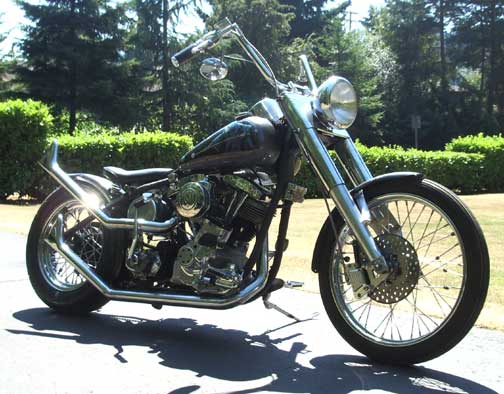
to see first and second week progress report and photos.
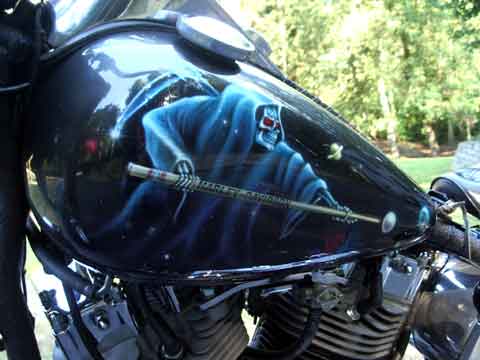
The Grim Reaper Comes Together Again.
An Old School Chopper, built at home, by God!
July 23, 2006
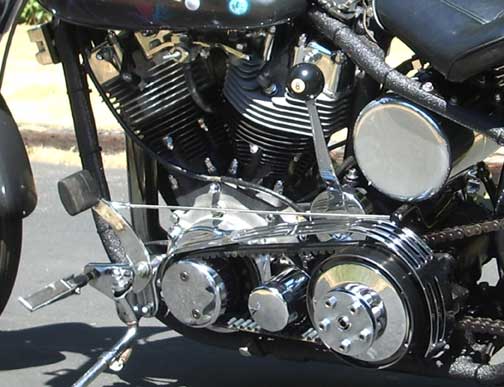
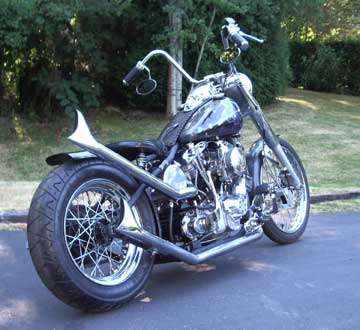
Well, after a long, slow couple of months working on other stuff and getting ready to move to Yakima, the critter is finally assembled. Naturally, nothing ever works perfectly - it won't start yet. I have not gone into deep diagnostics, but it looks like something is out of time. Kick it through, and there are a couple of sequential backfires through the tailpipes, which tells me that it's firing with the exhaust valves open. A quick check of the valves and timing show that they are apparently right, which leaves (among other possibilities) the chance that the cam is installed out of phase with the crankshaft. That happened the first time I ever put it together, and it's a pretty easy fix in about two hours, but that's another story.

|
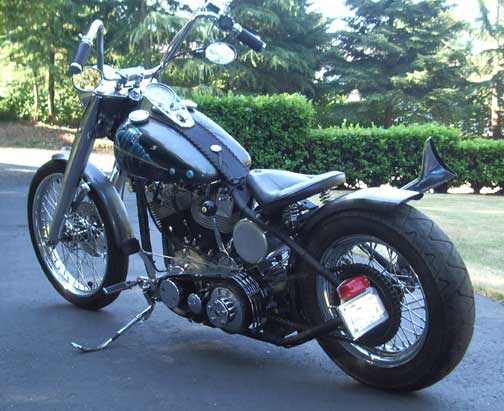
The taillight you see here is a generic cheapo from J&P Cycles that I used the first time I put it together. Now I'm making another one out of 2" aluminum tubing with an LED illumination unit that will mount in this same place. |
|

